ImgFkr
ImgFkr

Intro

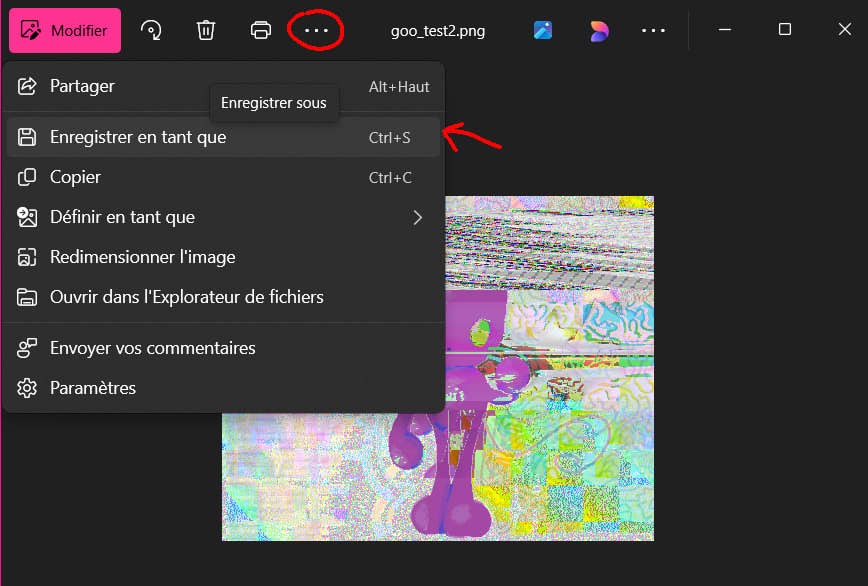
Welcome to the fucking destroyer zone, here I'll try my best to explain how I fuck up images.

I've always loved destroying shit and creating new stuff from the mess, and people seem to like that :) DON'T CONSIDER THIS A TUTORIAL!! I suck at explanations and my english is shit, I'm showing my process more than anything really. Okay let's be less vulgar and a bit more serious (jk idk how to be serious)

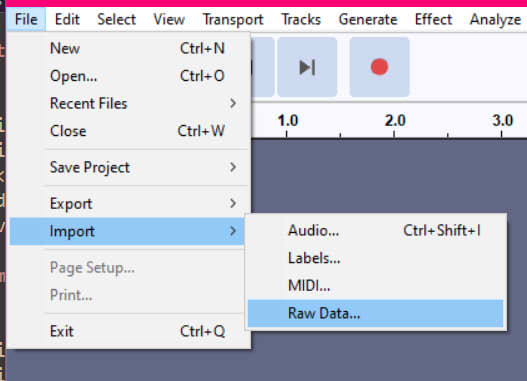
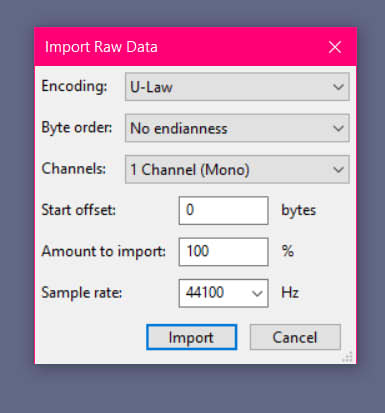
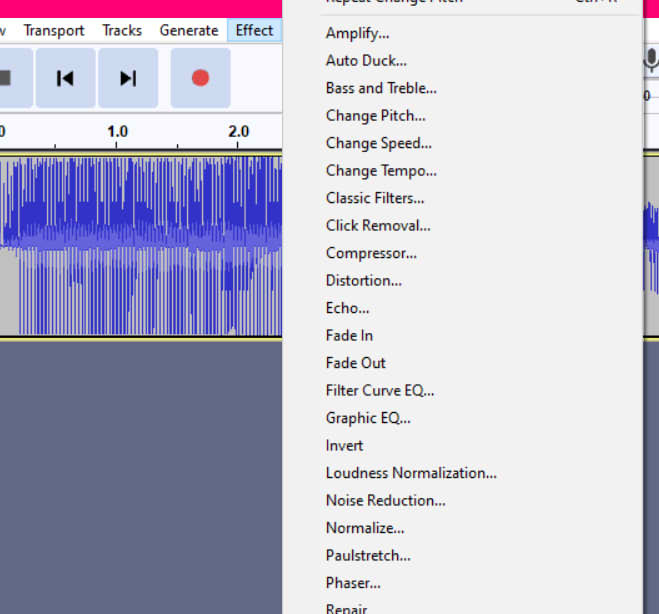
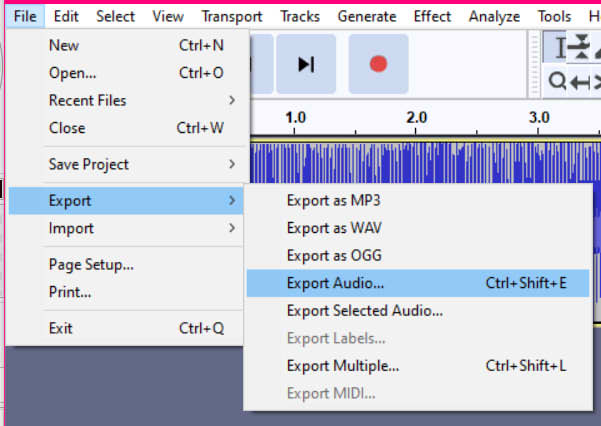
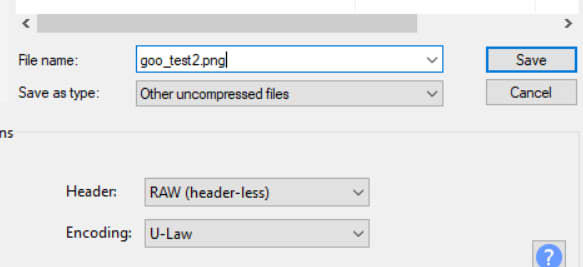
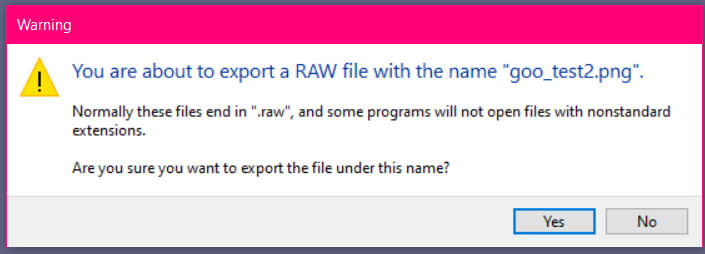
Everything here is done on Windows, it probably works on other OS too but I'm not sure so try and find out yoursel ig ¯\_(ツ)_/¯ I use a bunch of different programs, let's start by the easier (also funnier) ones to mess with aand we'll end by the stuff that requires mutliple programs (and are less funny to setup) I'll also try to link better tutorials :3

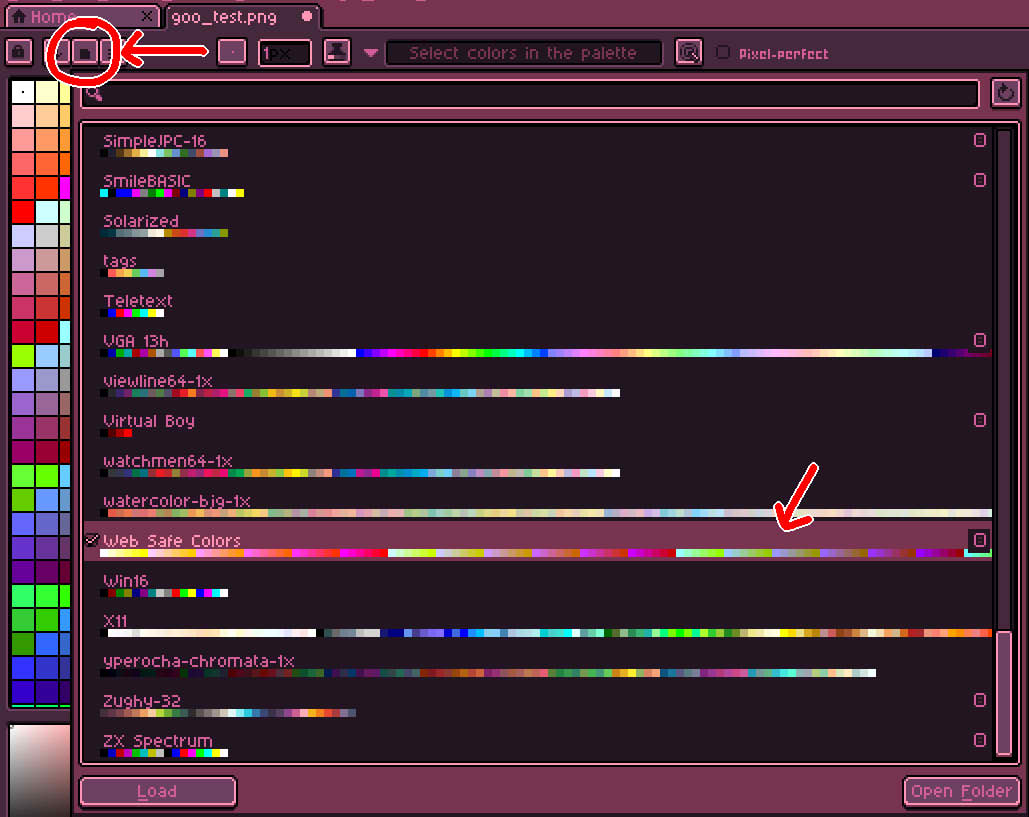
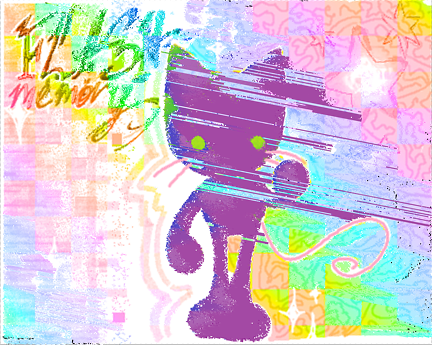
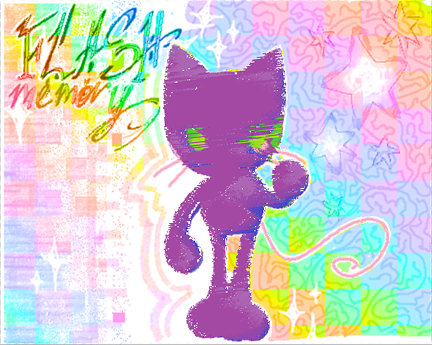
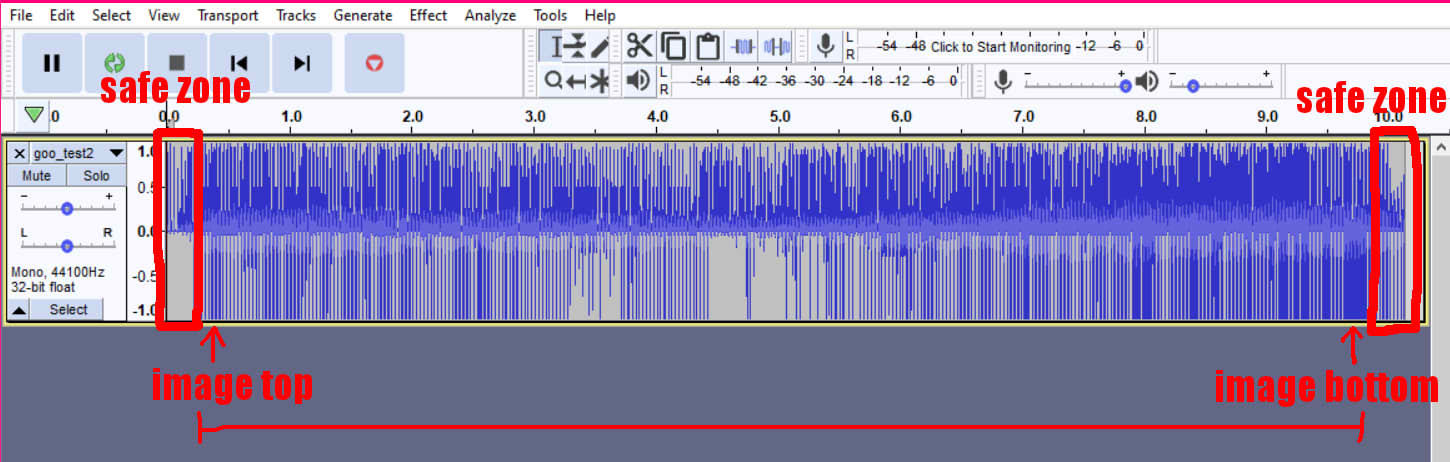
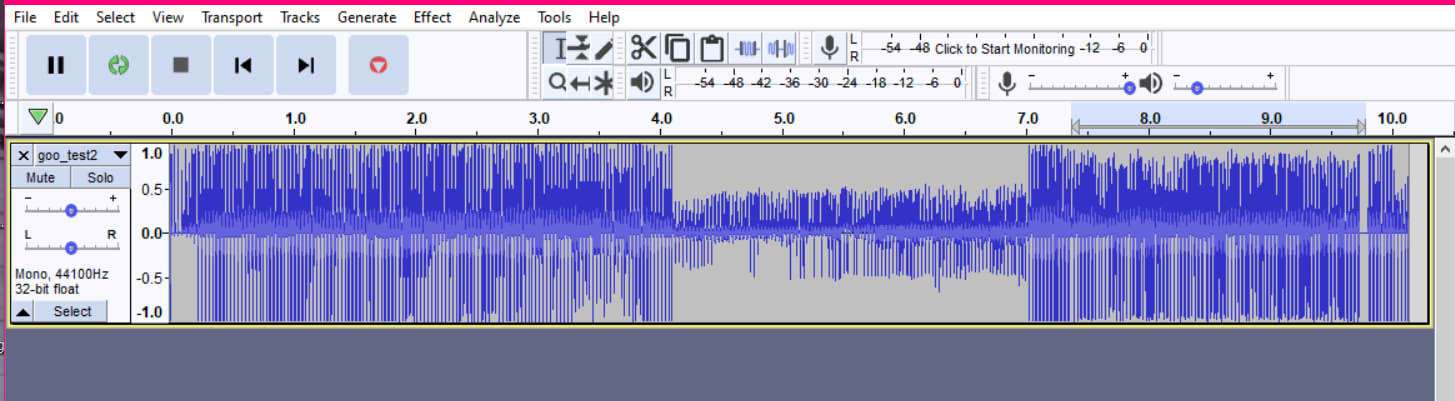
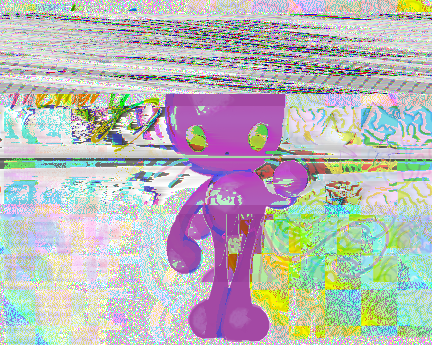
Here's our victim- uhm.. test subject for this, his name is Goo :)

goo

Programs

All the programs I use, per category to make it easier, some of them aren't free!


Dithering and posterization :

- Aseprite

Cool (probably the best even) pixel art program, it's also on Steam, if you're interested in pixel art you should buy it really.


Pixel sorting :

- Pixel Sortium

Super easy to use pixel sorter!!! just dl the source code zip and extract it, bam!, it's ready!


Datamoshing videos :

- Avidemux 2.5.6

Video editor, idk much about it except how to datamosh videos with it...


Image and video corruption :

- Audacity

Audio editor, don't use a rencent version or you won't be able to export databended stuff correctly, I use version 3.0.3.

- VLC

A must have on every computer imo.

- Premiere Pro

I just use it to convert my videos into raw avi, any other program that can do that is fine.

- CloudConvert

To convert your raw videos back to mp4.


Dithering and posterization

I LOVE DITHERING!!!!
It looks so cool and all you have to do is open your image in Aseprite, open "presets" on top of the color palette, and pick a palette you like (you can even import yours). Most of the time I go for the web safe one because the results often look pretty.


To apply dithering, click on "sprite" at the top, select "color mode" then "more options".

It opens a window, here you want to select "indexed" colors so it uses the colors from the chosen palette. then you can play around with the other options until you like the result :3


And if you just want to posterize your image, skip the first step, select "no dithering" and it's done!


That's it!!! It's "easy like hello" as we say in french :)
I like to dither my backgrounds, it adds a nice texture *yummers*


Pixel sorting

Another super easy one.
Put your image in the "image" folder inside your Pixel Sortium folder.


Launch PixelSorting.exe and it's pretty intuitive imo.
1. select your image.
2. play around! from top to bottom you can select how to sort pixels (by hue, saturation etc), select the color threshold, which angle the pixels get sorted, and the last one I don't really know???? lol
3. click "sort" and the magic happens! from here you can click "revert change" if you don't like the result and start again or repeat step 2 to repixelsort your already sorted image :)
4. save your result when satisfied!


You can even make masks, it's a black and white image you put in the "masks" folder you can see in the firts image.
Only the white part of the mask will be sorted.


select your mask from the "mask controls" tab, or draw a mask directly in Pixel Sortium by clicking the "draw mask tool".


Datamoshing videos

COMING SOON?
when I'll be able to be a supporter on neocities......


Image and video corruption

Image corruption :

To databend your image, it must be a .bmp format, you can easily convert png or anything to bmp online with CloudConvert for exemple.

Once you have your bmp file, import it in Audacity as raw data. It opens a small window.
Here in encoding select either "A-law" or "U-law" (remember which you chose) and "no endianness" for byte order.


You should see your image's waveform :D
The begining of the waveform is the top of your image, and the end, well, the bottom of it. There are what I call "safe zones", you should leave them untouched (especially the 1st one, that's where the image's important infos are stored) or it might totally corrupt your image!!


Now you can select bits of your image by clickdragging a part of your waveform and apply filters to it.
Cool note: VST works too for even more funky results :D


When you're done, export it.
In the export options, name your file anything.bmp (don't forger to change the raw extension with bmp!!!!(and ignore that I wrote png on the screenshot(I'm STUPID))), in "save as type" select "Other uncompressed file".
Down in the "format options", chose "RAW (headerless)" for "Header" and the SAME encoding as the import (A-law or U-law).


If this warning shows up, just click "yes".


Your image is now a done! but it might not be recognized as an image by other programs...
Thankfully, windows' image viewer can still open it so you can re-save it as a png (or jpg or whatever)!!!


Now your databended image should be usable anywhere! :D


more coming... someday.